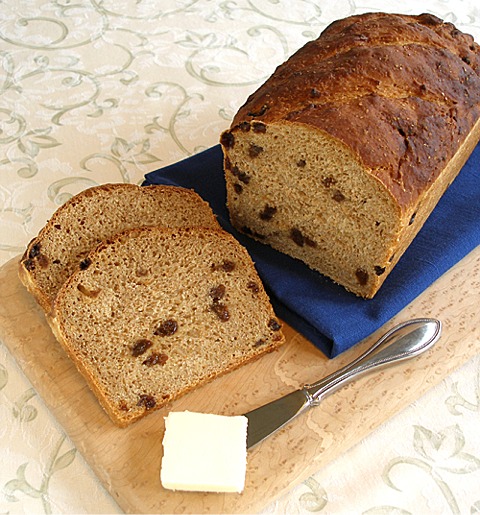
Whole Grain Wheat Bread From a Starter
Recipe by Sarah Phillips; Food styling and photos by Kelly Hong © 2011 Sarah Phillips CraftyBaking.com
This is my favorite bread with a complexity of flours – it’'s a little bit sweeter than a regular whole wheat loaf, but also has some sour notes, is a little chewy and moist thanks to prefermenting part of the yeast in a sponge. The process adds so much character to the loaf. However, if you don't have time, skip the prefermenting stage and include the sponge ingredients with the rest of the loaf. The bread also stores a bit longer than a regular loaf, about 4 or so days well wrapped at room temperature.
Instead of using whole wheat flour (Stone ground whole wheat makes for a drier bread), for a better texture and more fiber I make my own blend: all-purpose flour with bran. It'’s kind of my signature blend. The resulting bread has a lot of fiber - 1 cup or bran contains 48g of fiber versus 1 cup of whole wheat containing 12 grams and is also lighter because of a lower protein content of all-purpose flour.
BREAD RECIPE HELP
KELLY SAYS: "We LOVE this bread!
I made it with the raisins and love the way the orange zest punches up the flavor.
The bread is moist, without being gummy, and it is so much better that some of the dry, flavorless whole grain breads out there!...It's a real winner!"
Secrets
When making a bread loaf with whole wheat flour, I like to develop the gluten and structure in the loaf first with the all-purpose flour for better rise, volume and texture, and then, add in the whole wheat flour afterwards. It's because whole wheat or flour containing bran acts like tiny scissors; so adding it first when building a bread loaf's structure, to me, is counter-intuitive, meaning the tiny "scissors" cut the gluten strands while you are trying to create them. Also, when adding in raisins (or nuts), I always recommend adding them in after the gluten-structure of the bread has been formed for the same reason; the raisins interrupt the formation of gluten-strands, so knead them into the already formed bread dough as the last stage for better results.
INGREDIENTS
Sponge:
1/4 to 1/2 cup water, 100 to 110 degrees F;
1/2 teaspoon active dry yeast; do not use instant yeast
1/2 cup unbleached, all purpose flour; spoon into measuring cup and level to rim
Bread dough:
1 1/2 cups whole wheat flour; spoon into measuring cup and level to rim; you can use all whole wheat white flour
1 cup raw bran flakes (Miller's Bran); store in freezer
1 1/2 to 2 cups water, 100 to 110 degrees F; use an Instant Read Thermometer to measure temperature
1 teaspoon active dry yeast; do not use instant yeast
1/4 cup honey; any flavor
2 1/2 cups unbleached, all purpose; spoon into measuring cup and level to rim
2 teaspoons salt or 3 teaspoons kosher salt
2 tablespoons orange peel from 1 large orange or 1/8 tsp orange oil, optional
1 cup raisins, optional; soften by soaking in warm water before using
INSTRUCTIONS
Make the sponge. Prepare the bread pan. Combine the flour with bran:
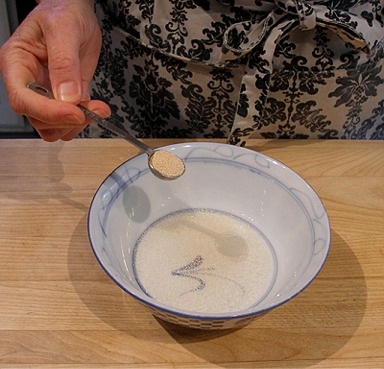
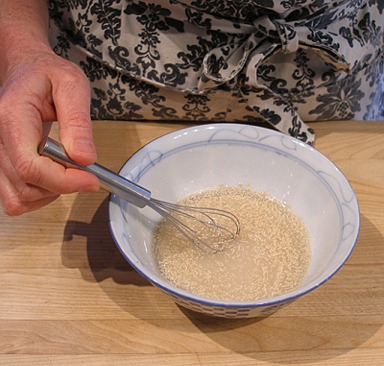
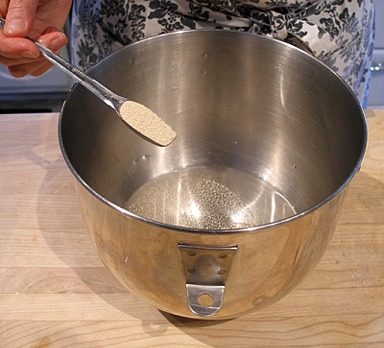
1. Sprinkle 1/2 teaspoon yeast over 1/4 cup warm water. Let sit a few minutes and whisk to combine.
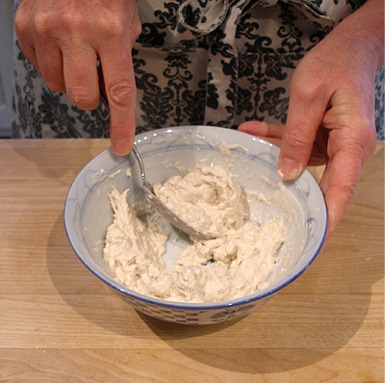
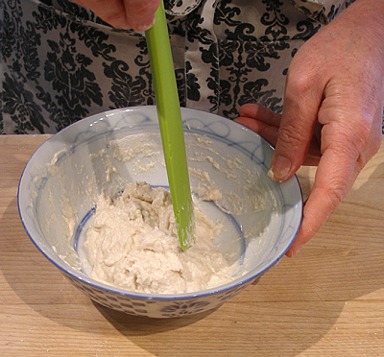
2. Stir in 1/2 cup flour. The mixture will be like thick paste.
If the mixture is too thick and cannot be stirred, add 1/8 cup more warm water, up to 1/4 cup more and stir, again.

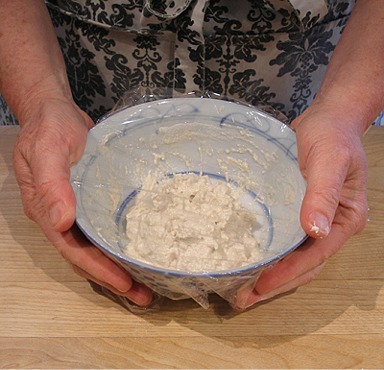
3. With a rubber spatula, scrape the flour mixture into a mound and cover tightly with plastic wrap.
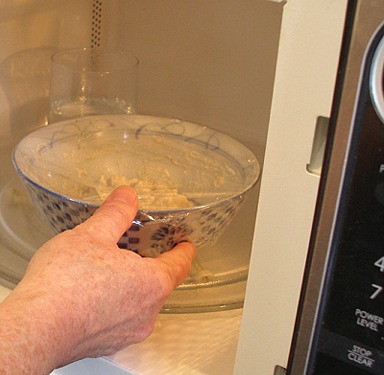
Put in Sarah's Microwave Bread Proofer or in a 75 to 85 degree F warm spot for 1 to 1 1/2 hours.
Tiny bubbles should begin to appear on the surface and it should smell like yeast with vinegar overtones and appear like thick pudding. If not, discard and start again.
Mix the bread dough:
Mixing bread dough can be done by hand, with a wooden spoon, strong arm and a very large bowl, in an electric stand mixer (a hand-held mixer does not have enough power, so don’t use), a food processor or bread machine. Have the electric stand mixer on low and if using, pulse the food processor. The bread machine works automatically.
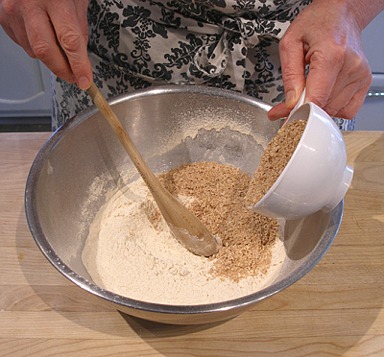
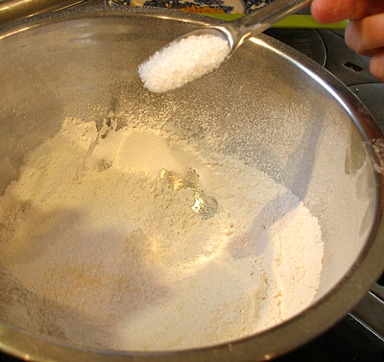
1. With a spoon, combine 1 1/2 cups whole wheat flour and bran. (If you use a fork or whisk, bran particles will settle on bottom of bowl).
2. Place 1 1/2 cups warm water in the mixer bowl of a stand mixer, a large mixing bowl if by hand or in the bowl of a food processor.
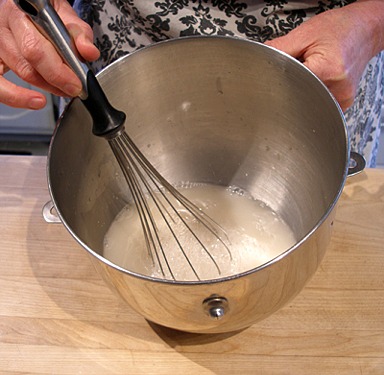
3. Sprinkle 1 teaspoon yeast over the surface of the warm water. After a 2 or 3 minutes, whisk in the yeast until it has fully absorbed the water.
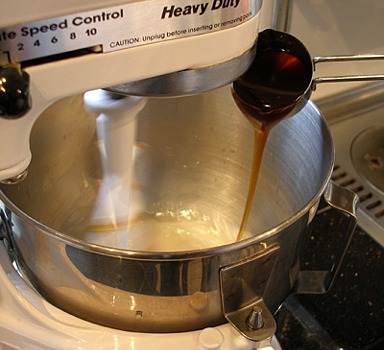
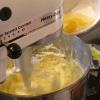
4. Fit the mixer with a paddle attachment. Turn the mixer on low and drizzle in honey.
5. Add in slightly bubbling sponge until incorporated.
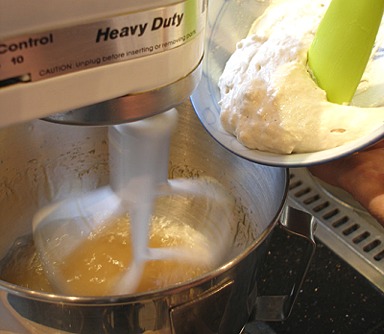
6. Slowly, add in all-purpose flour, 1/2 cup at a time with the mixer on low.
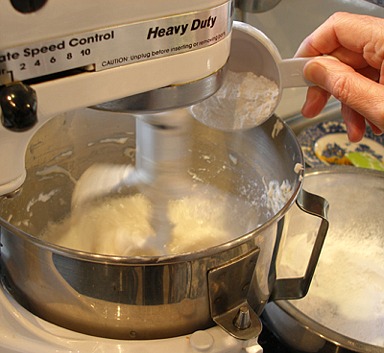
In the second cup of all-purpose flour, before adding, blend in the salt.
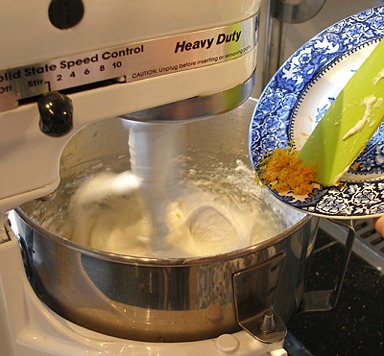
Optionally add in the orange peel or oil.
7. As you continue to add in all-purpose flour, the mixture will become a very thick paste. Switch to a dough hook when it does.
Continue to add the remaining all-purpose flour, thoroughly blending it after each addition before deciding to add more.

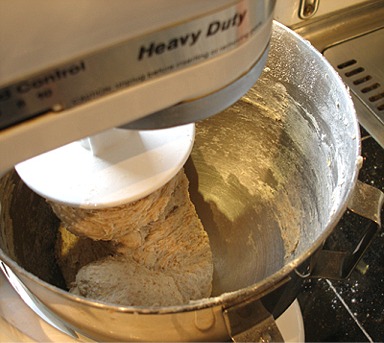
8. Then, start adding in the whole wheat flour / bran mixture. When the dough starts to come together, add in flour 1 or 2 tablespoons at a time. Take your time and don’t rush the process; it is critical that you get the consistency of the dough right.
9. STOP ADDING IN FLOUR when the dough pulls away from the sides of the bowl and all ingredients are in the dough rather than in the bowl.
SARAH SAYS: The dough should be a little tacky and feel like playdough, not sticky, wet or dry. In total, you may end up adding needing more or less flour than called for in the recipe. (If there are any dry ingredients remaining, correct the dough with a few drops of water until all is combined; if too wet, add in flour, a tablespoon at a time. Mix before deciding to add more).
Optionally, let the dough rest, covered, for 15 minutes in its bowl. It is now ready to be kneaded.
To mix by hand: place the warm liquid containing the dissolved yeast in a large bowl; place the dry ingredients as you stir with a wooden spoon, adding only as much liquid as necessary to form a rough, shaggy dough.
Using a food processor: Proof or dissolve the yeast in the food processor bowl. Then, secure on the machine and attach the plastic, smooth-sided blade only (not the chopping blade). Add in half of the flour and then pulse the food processor several times. Continue to add in the rest, 1/2-cup at a time and pulse after each addition. The dough should be sticky at first and then begin to form a ball. If it doesn't, add in flour, 1 tablespoon at a time and pulse after each addition until it does. When the dough ball becomes smooth, but is still slightly sticky, do not add in any more -- you may not need all or you may need more than the recipe calls for.
Knead the bread dough and let rise.:
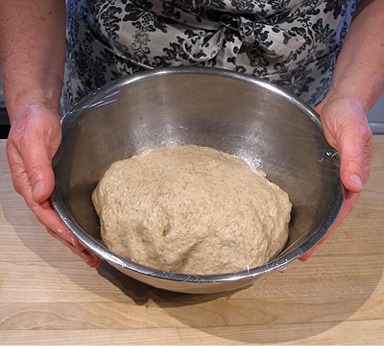
1. Knead dough in mixer 5 minutes (8 to 10 minutes by hand; 45 seconds by food processor). Transfer dough to oiled bowl and turn the dough to coat all over.
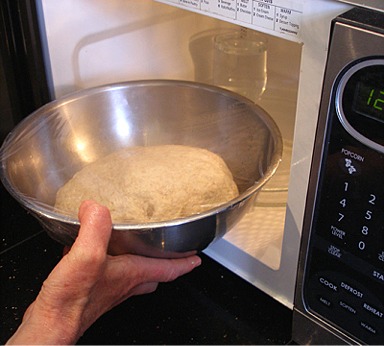
Cover in plastic wrap making sure to seal bowl tightly. Place in Sarah's Microwave Bread Proofer or in a 75 to 85 degrees F spot for about an hour to 1-1/2 hours until just about doubled in size.
2. About 30 minutes before baking, set the oven racks on the bottom and middle rungs.
Place sheet pan on lower level to deflect the heat and to keep the loaf from burning.
Preheat the oven to 500 degrees F.
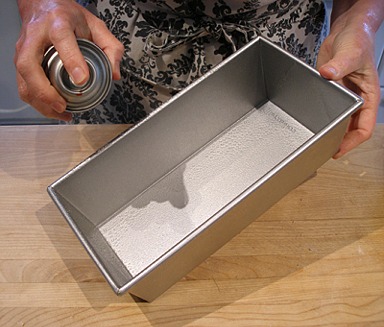
3. Grease the bread pan and set aside.
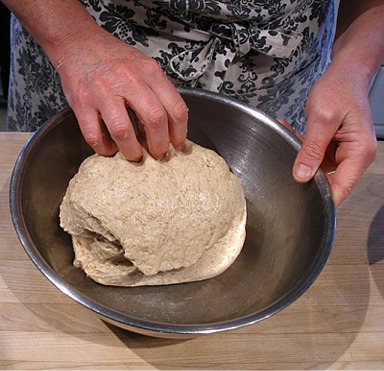
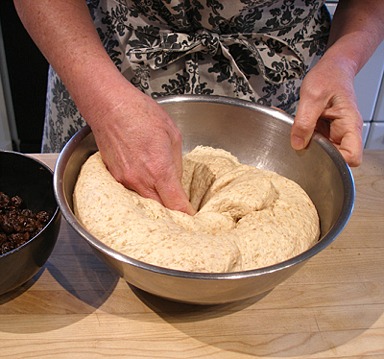
4. Press the dough down to deflate.
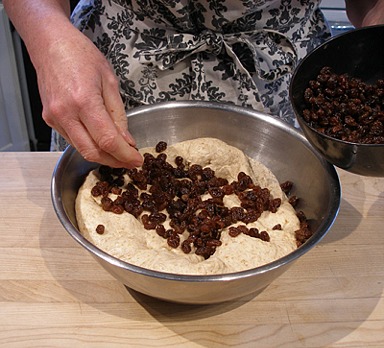
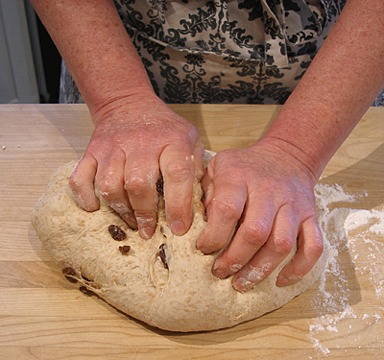
5. If adding raisins, sprinkle all over the surface and knead until distributed throughout as best you can - take only about 5 minutes to complete.
 |
|
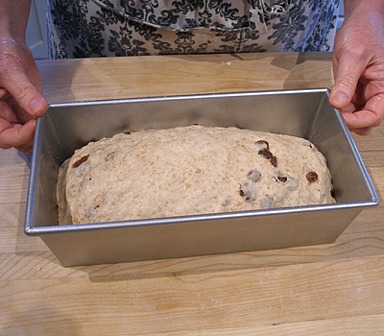
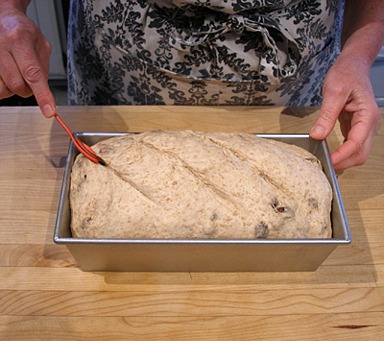
6. Shape dough. Place in a greased 9x5-inch bread pan.
7. Put pan in Sarah's Microwave Bread Proofer until the middle part of the dough reaches equal with the rim of the pan, about an hour.
With a razor blade, make 2 or 3 diagonal slashes. Use a razor blade or a very sharp knife (not serrated) held at a 90-degree angle to the loaf and slash.
8. Immediately place loaves in oven. Reduce the temperature to 450 degrees F.
9. After loaves have baked 20 minutes and are completely risen, lower oven temperature to 350 degrees F.
If the top is browning too fast, make a foil tent over it.
10. Bake 20 to 30 minutes more, until bread reaches an internal temperature of 190 to 200 degrees F measured with an Instant Read Thermometer placed in the bottom of the loaf through to the middle.
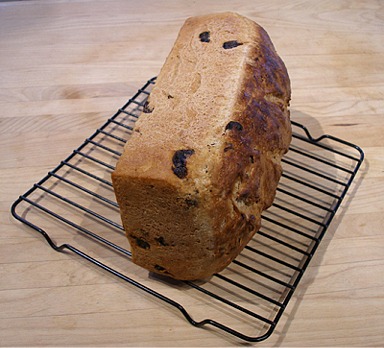
11. Remove loaves from oven and cool on sides on a wire cake rack about an hour or more, before slicing.
SERVE
Slice bread placed on its side with a serrated or electric knife. If storing, cooling takes about 2 hours or more before wrapping.
STORAGE
This bread also stores a bit longer than a regular loaf, about 4 or so days well wrapped at room temperature. Bread freezes nicely for about a month or more.
Other Recipes

Fast, Easy, Inexpensive Cookies
17565 views| 8 comments

Traditional Walnut-Almond Baklava
10976 views| 0 comments

Red Velvet Checkerboard Cookies
17536 views| 4 comments
My Recipe Tools
Explore How-Tos

Poppy Seeds - Prepare for Use in a Recipe
Before you begin a recipe using poppyseeds (or poppy seeds), soak them in hot milk, water or oil... Read More
_100_100_s_c1.jpg)
How to Braid 6 Strand Bread
Challah bread is typically braided. I use this baking technique is used when making my egg-rich... Read More
Emulsify: What is Emulsification and How Does it Work?
What is Emulsification? To emulsify means to combine two liquids that normally do not combine... Read More

Hydration - Bread Dough
Bread bakers often talk about the percent hydration of dough or water Baker's %; that is the... Read More
Newest Recipes View All

Priscilla’s Fudge Sauce
INGREDIENTS 4 tablespoons unsalted butter 4 ounces bittersweet chocolate, chopped 1 cup sugar 1/2... Read More

Candied Spiced Pink Grapefruit Peels
INGREDIENTS 2 large pink or red grapefruits, preferably organic 1 cup granulated sugar, plus... Read More

Vanilla scented biscuit roulade
About Us

Hi, I'm Sarah Phillips Sarah Phillips, CEO and founder of craftybaking.com, has over 25 years of extensive professional real time baking experience. READ MORE

Hi, I'm Kelly Hong Contributing Editor, Food Stylist and photographer, since 2007. I have been working as a professional ceramic artist for over 25 years. READ MORE