French Meringue Mushrooms and Shapes
Recipe by Sarah Phillips; Food styling and photos by Kelly Hong © 2000 Sarah Phillips CraftyBaking.com
It is believed that meringue was invented in 1720 by a Swiss Pastry chef called Gasparini. The dish soon spread to France where it was said to be the favorite dessert of Marie Antoinette. There are different types of meringues and you are all correct because their texture depends on ingredients, whipping and baking time.
Less sugar creates a softer meringue for toppings on cakes or pies; more sugar creates a harder meringue used for piping into shapes.
Bake hard meringues at VERY LOW temperatures to avoid browning - because they will very quickly.
Add a tablespoon of cornstarch dissolved in heated water to whipped egg whites for a hard meringue that cuts smoothly.
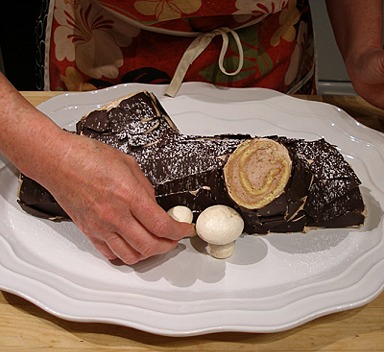
The mushroom-shaped meringue is used to decorate the traditional Christmas cake -- the "Bûche de Noel" or Yule Log.
You can present the "mushrooms" in a basket for a charming party centerpiece or serve as a cookie. You can pipe mushroom caps of all different shapes and sizes and then separately pipe stems to match.
EGG INGREDIENT HELP
Recipe used with:
 Bûche de Noël (Christmas Yule Cake Log) Recipe
 Gluten Free Buche de Noel Tutorial Recipe
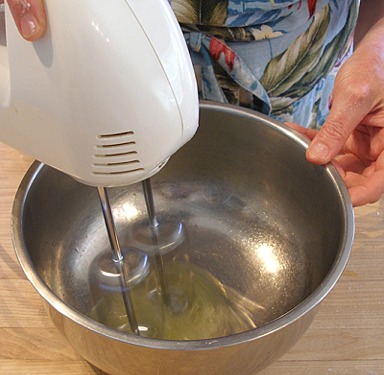
I recommend using a hand-held electric mixer or a wire whisk for beating the two egg whites. You want the beater's blades to fully beat and aerate them.
INGREDIENTS
Basic French Meringue:
2 large egg whites, can be cold from the refrigerator
Pinch cream of tartar
1/2 cup sugar
For Mushroom Shapes:
1/4 cup chocolate chips
Cocoa powder for dusting
INSTRUCTIONS
Basic French Meringue:
1. In a medium size deep bowl, with straight sides, beat the egg whites on low until foamy.
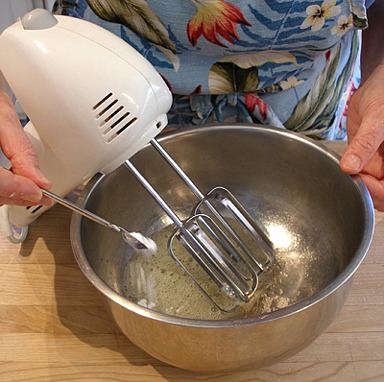
2. Add the cream of tartar.
Increase the mixer speed to high and beat until soft peaks form when the beater is raised.
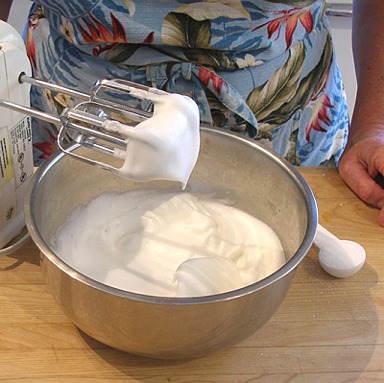
3. Add the sugar slowly at the side of the bowl.
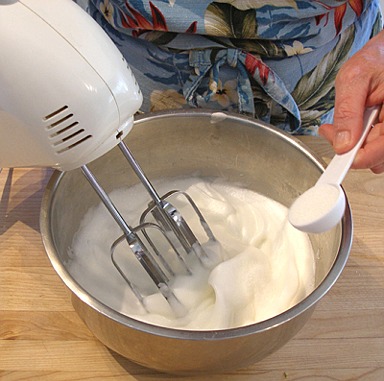
4. Continue to beat on high until stiff peaks form when the beater is raised.
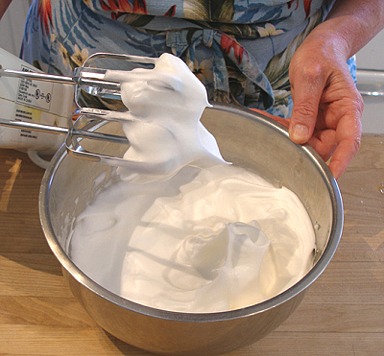
5. Scrape down sides of bowl.
Make the meringue mushrooms:
1. Position the oven shelf to the middle of the oven. Preheat the oven to 200 degrees F.
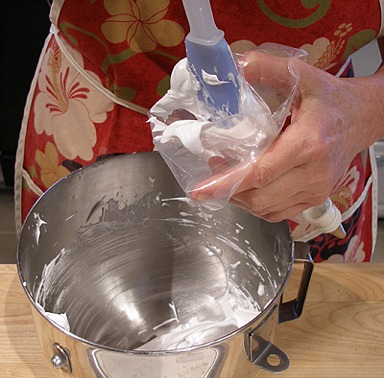
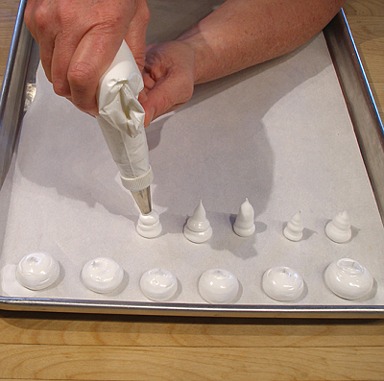
2. Place the meringue in a large zip-lock bag and push the mixture toward one corner, folding the other corner over, then twisting, allowing you to control the meringue. Cut off just the very tip of the exposed corner so the meringue can exit the bag.
You may also use a piping bag, fitted with a plain medium round tip.
3. Test the meringue by dotting four small beads of meringue at the corners of a cookie sheet. Set a sheet of parchment paper over the top; the meringue beads will provide a bond.
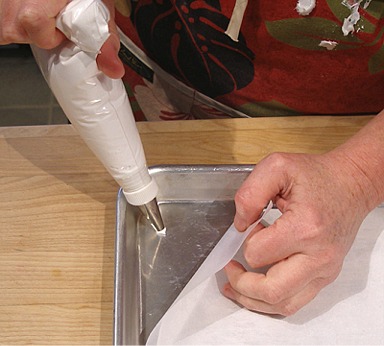
4. Make the mushroom caps by holding the bag over the parchment paper and push until a 1-inch mound of meringue forms.
For the mushroom stems, form peaks on smaller mounds of meringue by pulling the bag up and away from the surface as you push.
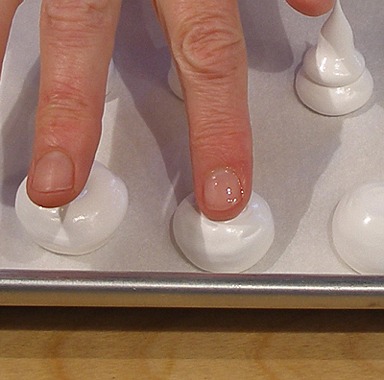
5. Wet the tip of your finger with water and gently round off any peaks to make a smooth surface.
Bake:
1. Bake in a hot, preheated 200 degree F oven for an hour.
Then, turn oven temperature down to 175 degrees F and leave them until they’re completely dry to the touch, taking about an hour.
To construct "mushrooms":
1. Melt the chocolate chips in a microwave-safe dish, in the microwave, at 50% power for about 45 seconds, at a time, until almost melted.
Stir after each session. Remove and stir to fully melt. Let the chocolate cool to tepid or about 100 degrees F before using.
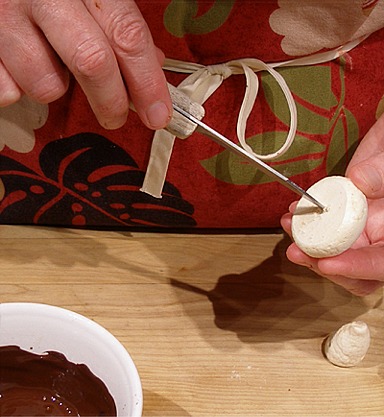
2. Before you put the chocolate on the mushroom, use the tip of a small knife to make a hole in the bottom of the cap for the stem.
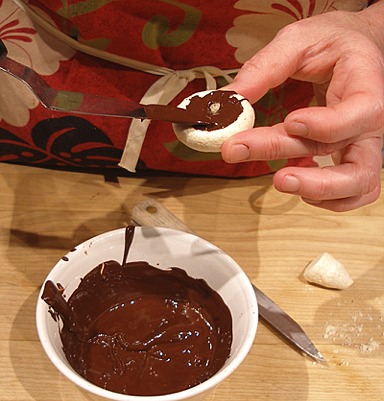
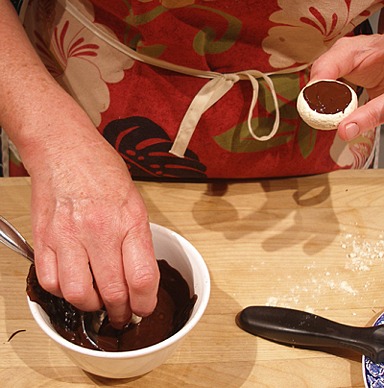
3. Use a small offset spatula to coat the bottom of the mushroom cap with the chocolate.
4. Then, dip the tip of the mushroom stem in the chocolate and gently place it in the hole of the mushroom cap.
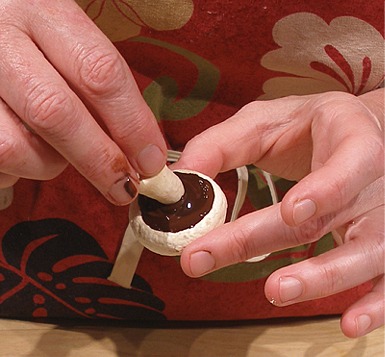
5. Place mushroom on a parchment paper lined baking sheet, stem side up, and allow the chocolate "glue" to harden (it only takes a minute).
Repeat until all the mushrooms are assembled.
NOTE: If you are so inclined, and want to make the gills under the mushroom caps, coat the chocolate a little thicker in Step 3.
Complete Step 4, and then use the side of a toothpick to make the gill designs!
make the designs.
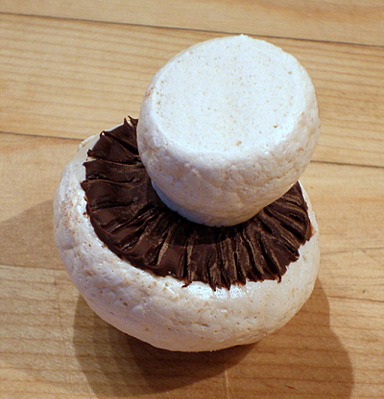
Mushroom Gills are the technical term for the thin flaps that resemble fish-gills under the cap of a mushroom. They aren't there to help the mushroom breathe; rather, they are there to produce the spore (seeds, if you will) for the mushroom.
STYLING
When ready, place the mushroom upright on its stem and dust the cap lightly with cocoa powder.
STORAGE
Store in an airtight container.