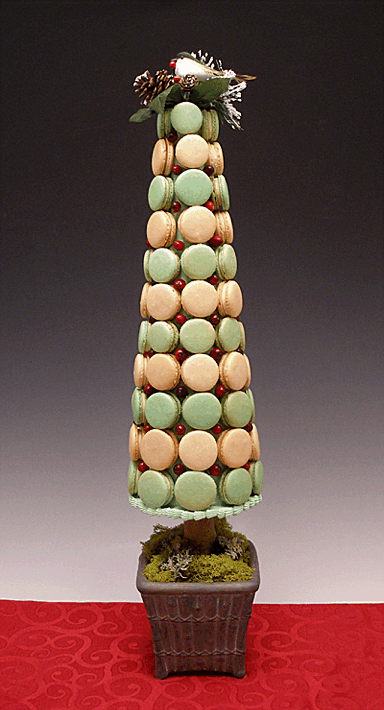
KELLY SAYS: “When Sarah and I were discussing Christmas recipe tutorial choices, we thought it might be fun to do a detailed French macaron topiary tutorial, since they are all the rage, and there aren't any tutorials like this available online. I had to literally invent a way to do this, and we are thrilled with the results. We hope you are, too!
Making a Macaron Topiary or Tower (or pièce montée macaron in French) makes a beautiful holiday decoration.
We really wanted to put a CraftyBaking twist on the subject. I came up with the idea to make a woodland themed French macaron topiary. All the beauty of a macaron tower, but more interesting visually.”
COOKIE RECIPE HELP
INGREDIENTS
3 recipes French macarons*; make each 1 1/2-inches in diameter
Green gel paste food coloring
Terra cotta or peach gel paste food coloring
2 recipes White Chocolate Lemon Ganache Filling; It is VERY important that you use a stiff filling, such as this one, for macaron towers.
1 recipe thick royal icing, recipe below
1 package fresh cranberries
SUPPLIES
1 deep ceramic pot, at least 5 1/2-inches across at the top with a 5 1/2-inch base.
Styrofoam sheet, 1 1/2-inches thick: to anchor the topiary in the pot
A thick stick or dowel, about 1 1/2- to 2-inches in diameter and 7-inches long; we used a natural tree stick (make sure you clean it before using)
A hot glue gun
1 6-inch cake board
1 18- x 6-inch Styrofoam cone, from the craft store
1 plastic squeeze bottle with top
Piping bag
Small round piping tip
Wilton #21 tip for a shell border
1 long thin metal skewer
1 decorative bird and pinecone pick from the craft store
1 package moss from the craft store
* MACARON NOTES: Make and fill the macarons
1. Make three recipes of macarons or 74 individual ones for this topiary, piping them 1 1/2-inches in diameter.
Try to be as accurate as possible with the sizing, but there will be some larger, and some smaller, anyway.
2. Tint two recipes (41) green and one recipe (33) peach for this tutorial. Make extras in case of breakage.
To tint the macarons green, add three drops of green gel paste food color to each recipe.
Tint one recipe a peachy orange, by using 1 drop of terra cotta or peach gel paste food coloring. Of course, you may choose whatever colors you want to use.
3. You will need 2 recipes of ganache to fill all of the macarons.
To make the ganache, follow the directions for this ganache, but substitute 1 teaspoon vanilla, or vanilla paste, for the lemon and lemon zest, and omit the yellow food coloring.
4. After filling the macarons with the ganache, then place in a covered plastic container and put them in the refrigerator to set the ganache while you build the form for the topiary.
INSTRUCTIONS
STEP I: BUILD THE TOPIARY FORM
1. Measure and trim a sheet of Styrofoam to fit snugly in the bottom of the pot of your choice. This will help anchor the topiary.
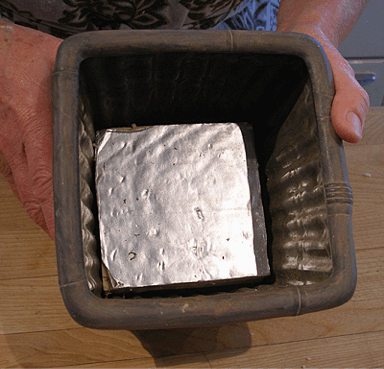
We used this insulating foam sheet, instead. But, Styrofoam works great.
2. Cut a second block of foam, making sure it fits snugly in the pot, on top of the first piece of foam.
3. Before you place it in the pot, mark the circumference of your stick in the middle of the the second block of foam with a sharpie.
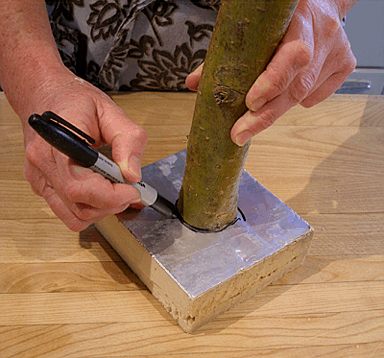
4. Then, cut it out, using a craft knife. Cut down through the full thickness of the foam. Pop out the center of the circle.
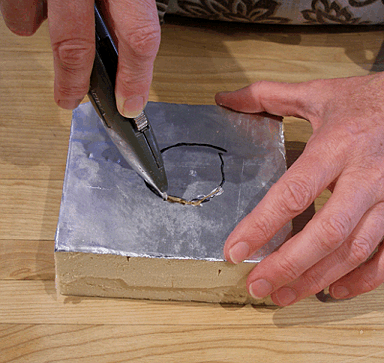
I used a sharp paring knife.
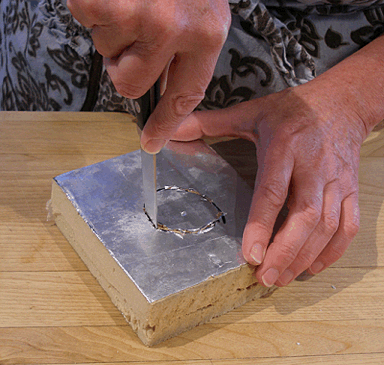
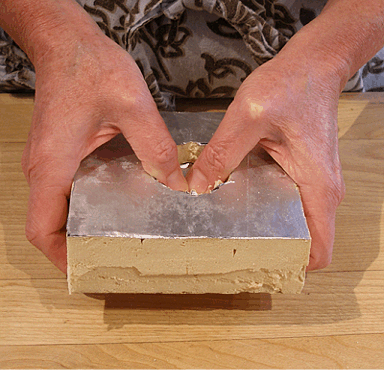
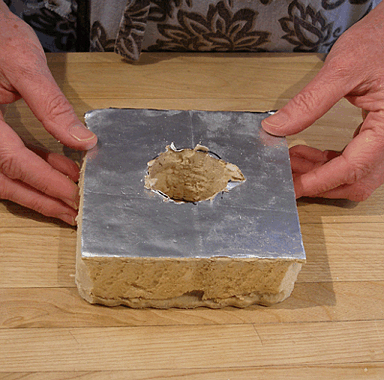
5. Put a bead of hot glue around the sides of the stick, 1-inch from the bottom.
Place it in the hole in the second block of foam, gluing it in place. DO NOT put glue on the bottom of the stick, or it will stick to your work surface.
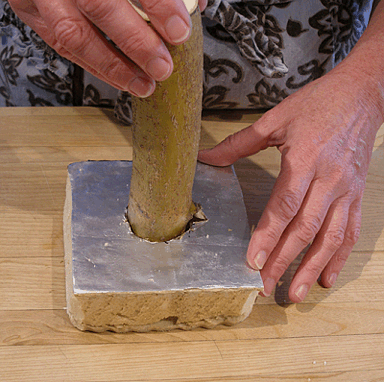
6. Put a dab of hot glue in the center of the first block of foam in the pot.
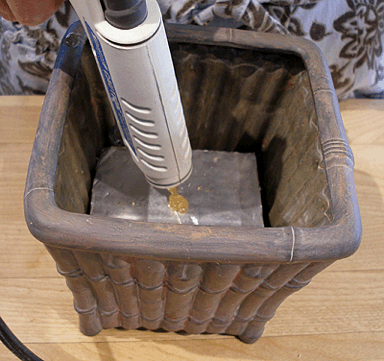
7. Then, quickly place the second block(with the stick attached) on top of the first block in the pot, gluing it in place.
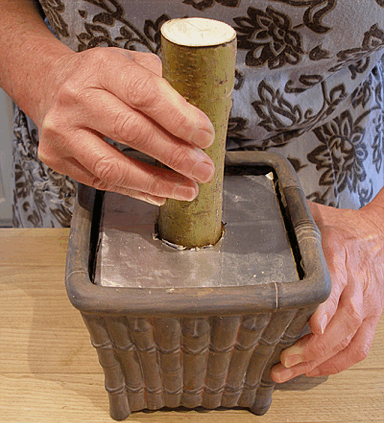
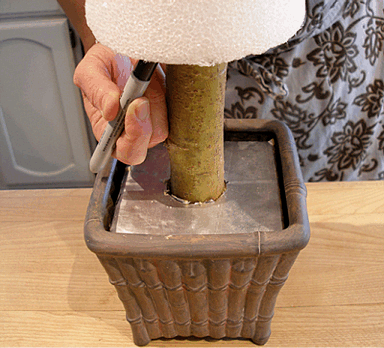
8. Center the Styrofoam cone on the stick, and draw around its diameter with a Sharpie marker.
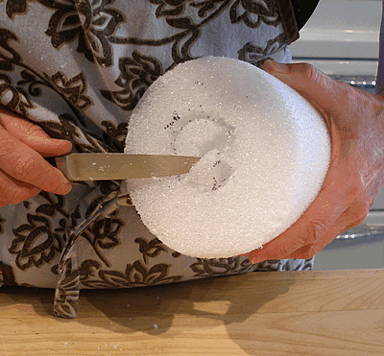
9. Turn cone over and cut out the plug of foam, with a sharp paring knife, about two-inches deep.
10. Take the cake board and cut a circle out of the center, that is the same diameter as the stick you are using for the trunk.
Cut the circle out with a craft knife.
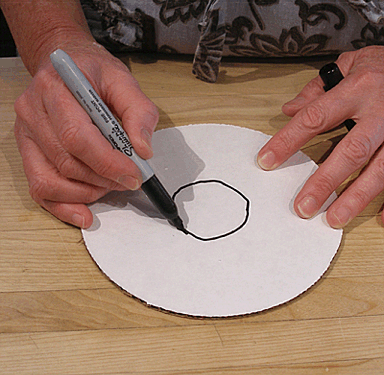
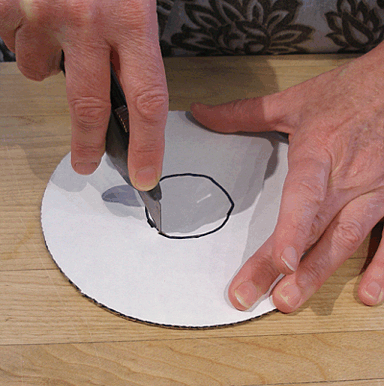
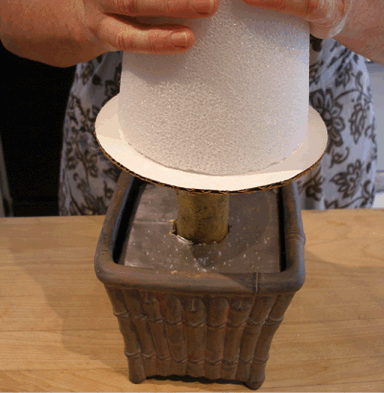
11. Run a bead of hot glue around the hole in the base of the Styrofoam cone. Then, center the cake board on it, and press it into place.
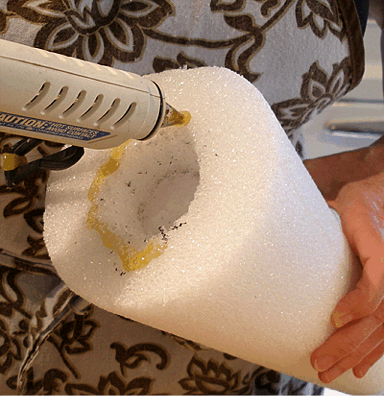
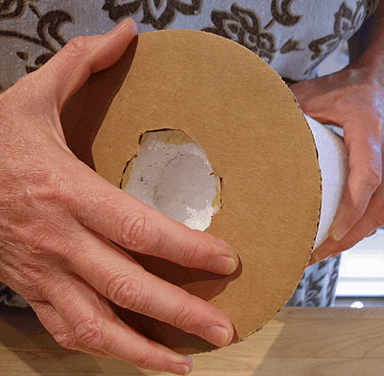
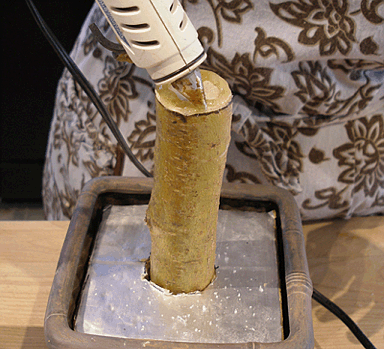
12. Run a bead of hot glue on the top of the trunk, then quickly insert the trunk into the hole, gluing it in place.
After a few minutes, check to make sure it is securely glued. If it is still wiggly, turn the whole thing over and put some more hot glue between the cake board and the trunk.
STEP II: MAKE THE ROYAL ICING
The beauty of covering the cone with royal icing is that it keeps the cookies from getting fragments of styrofoam on them when you
pull them off, and it is a strong foundation for the cookies. ALSO, after the cookies are eaten, you could wash the royal off, and use the form again, if you wanted to.
ROYAL ICING RECIPE
INGREDIENTS
1 pound powdered sugar, sifted; measure and then sift.
5 tablespoons meringue powder(for safe royal icing)
1/2 cup water
1/2 teaspoon vanilla extract
green gel paste food color (I used AmeriColor)
2 teaspoons to 1 tablespoon water
INSTRUCTIONS
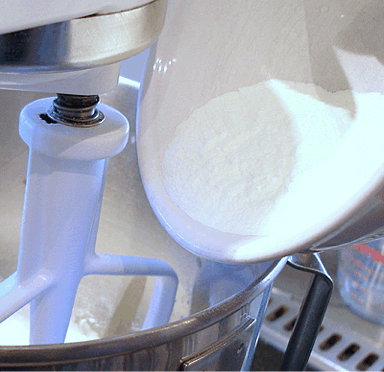
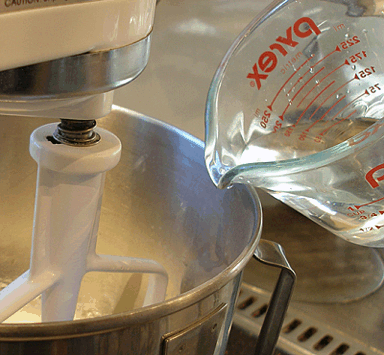
1. Put sugar, meringue powder, water and vanilla in the bowl of a stand mixer, with the paddle attachment in place.
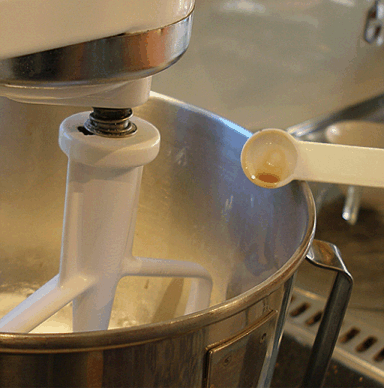
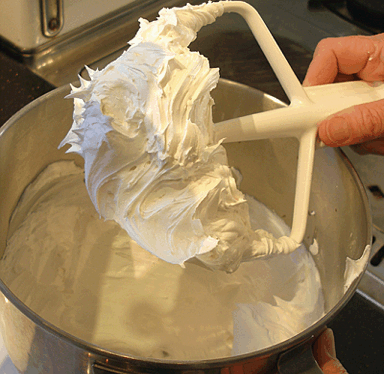
2. Beat on LOW speed for 6 minutes, until icing is thick, dense and fluffy.
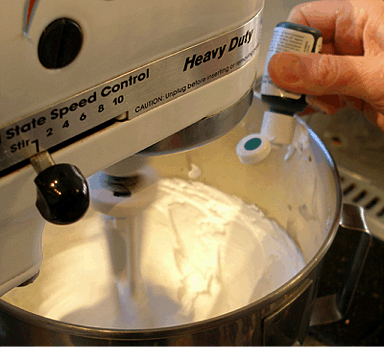
3. Add 4 drops green gel paste food color.
Turn mixer on low for a few moments until almost combined, then use a large silicone spatula to finish mixing the color until it is uniform.
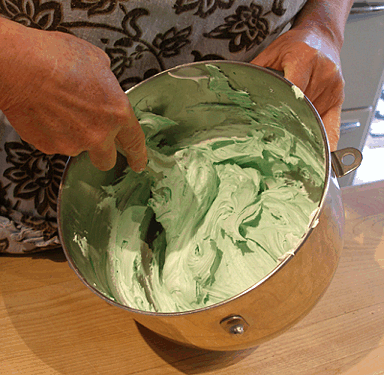
4. Take out 1 cup of royal icing and add 2 teaspoons to 1 tablespoon water, stirring in a little at a time, until the icing resembles a thick buttercream.
You will use this to adhere the macarons to the topiary,
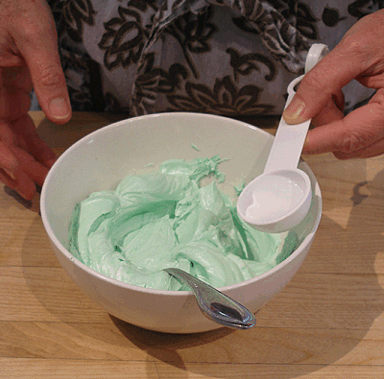
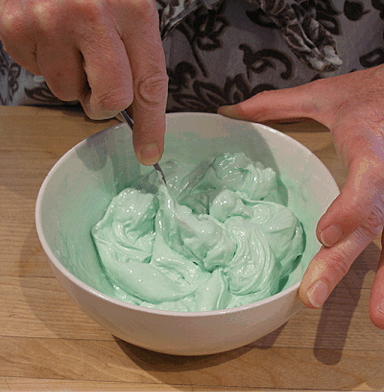
5. Place the thinned royal icing in a plastic squeeze bottle. Place the bottle's cap on. This is so it won't dry. Set aside.
STEP III: PAINT THE ROYAL ICING
Paint the royal icing all over the cone, except the very top. You want to build up a pretty thick layer.
1. Use a small offset spatula to make sure every part of the cone, including the cake board, has a nice coating of royal icing.
The royal icing will act as a barrier between the inedible Styrofoam and the macarons.
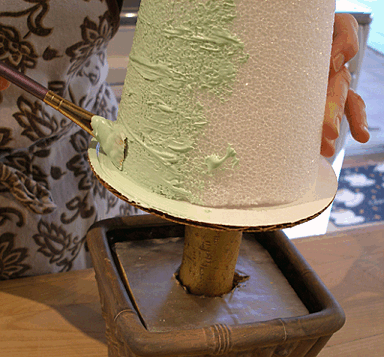
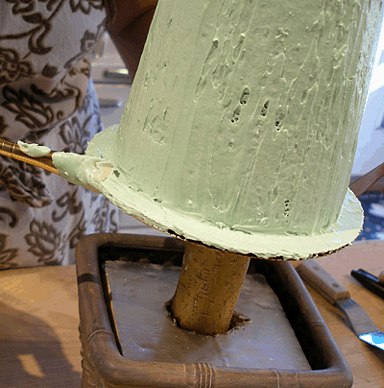
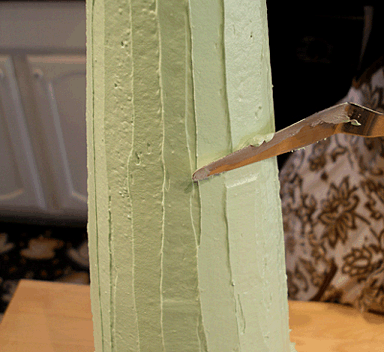
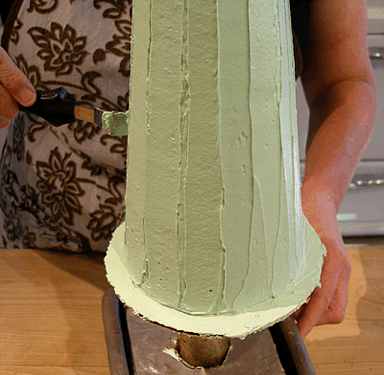
2. Set the structure aside for at least an hour, or until the royal icing is dry to the touch.
STEP III: ASSEMBLE THE TOPIARY
Attach the macarons: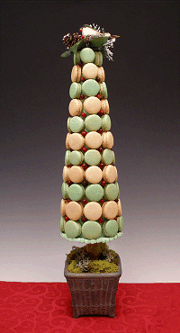
There are two ways to attach the macarons to the topiary. I recommend using royal icing to adhere the macarons to the structure. If not, you can use melted white chocolate. The white chocolate works, but the bond is not as strong as when you use royal icing.
Spacing is CRITICAL when you are making a macaron topiary. We recommend a number of macarons for each layer, but it is helpful to measure the exact number you will need as the size of the cone decreases.
It is helpful to choose a FRONT and a back of the topiary, so that any spacing 'fudging' can be done in the back of the topiary.
1. When the royal icing is dry on the topiary, remove the macarons from the refrigerator, and set them on baking sheets, grouping them by both color and size.
NOTE: You will need the largest green macarons on the bottom of the topiary, and the smallest on the top. The ones placed from the base up to the top should gradually get smaller. You will place them in alternating layers of green and peach.
Approximate number of macarons needed from the base of the topiary up:
Base layer: 9 green; use the largest of the macarons.
The 2nd layer from the base: 9 peach
The 3rd layer up: 9 green, a couple of them being slightly smaller to allow for the change in circumference.
The 4th layer up: 8 peach
The 5th layer up: 8 green
The 6th layer up: 7 peach
The 7th layer up: 6 green
The 8th layer up: 5 peach
The 9th layer up: 5 green
The 10th layer up: 4 peach
The 11th layer: 4 green; use the smallest macarons
2. “Glue” the macarons to the royal icing covered topiary.
With the thinned royal icing in the squeeze bottle, place a small dab of royal icing in the center of a large green macaron.
Make sure to use only a tiny amount, because when you pull the macarons off the topiary to eat them, part of the shell, on the “glued” side, will remain on the topiary.
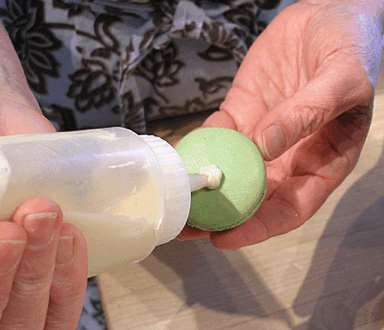
3. Press the macaron into place with the royal icing side, starting at the bottom of the topiary.
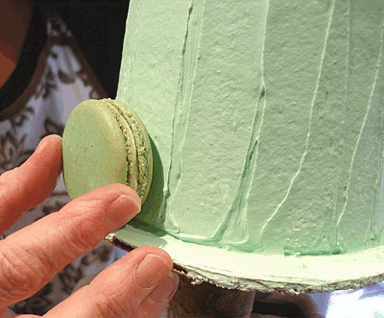
Repeat until all 9 large green macarons are in place, leaving about 1/8-inch in between each one.
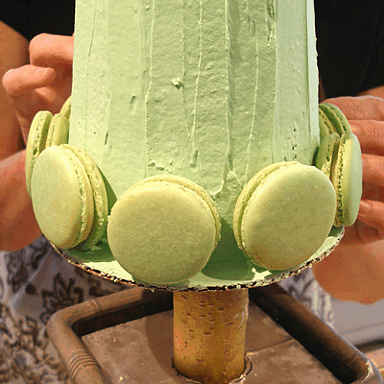
4. The second layer from the bottom uses 9 peach macarons. Place the macarons right above the green ones on the layer below.
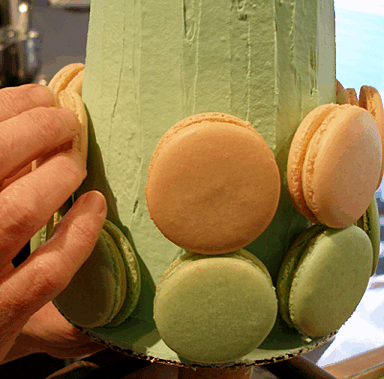
5. Place 9 green macarons for the third layer. Place the macarons right above the peach ones on the layer below.
NOTE: If, at any time, the macarons begin to slide down the cone, insert a popsicle stick between the layers, to keep them in place until the “glue” sets.
The “glue”' is moveable for several minutes, so, if you have to adjust spacing while you are attaching the row, you have a small window of opportunity.
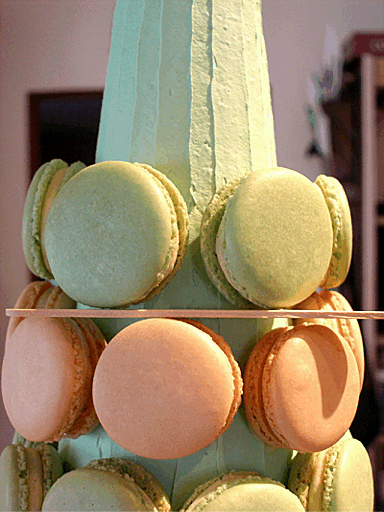
6. Place the fourth layer of 8 peach macarons, right above the green ones on the layer below.
Afterwards, it is a good idea to let the topiary set for at least 20 minutes, so the “glue”can set.
7. After that, continue to attach the macarons, alternating colors, until you reach the top of the cone.
8. Let the topiary set for at least 20 minutes, so the “glue” can set.
Decorate the topiary with cranberries. Pipe a border. Place the moss. Attach the bird topper on the very top:
When the rows are complete, it is time to decorate.
1. Place the any remaining royal icing in a piping bag fitten with a small round piping tip
2. Place a small dab of royal icing on the blossom end of a fresh cranberry and press into place in the spaces between the macarons.
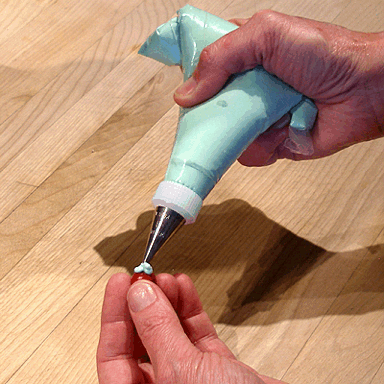
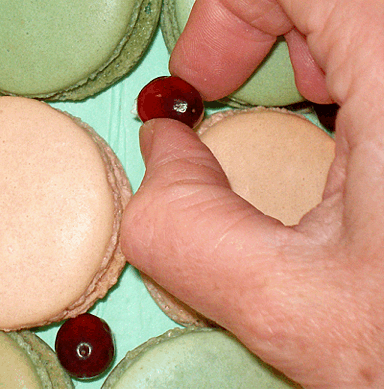
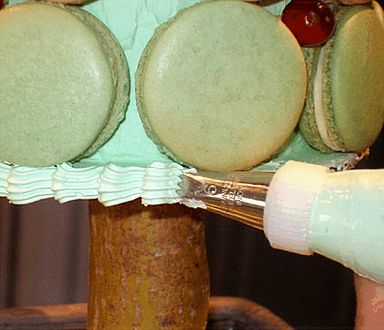
3. Change the tip on the royal icing bag to a small shell border tip and pipe a border on the edge of the cake board.
It should have teeth on one side of the tip. Wilton 21 will work.
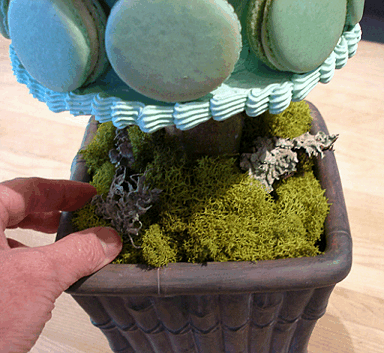
4. Place decorative moss in the pot, to cover the foam.
5. Poke a hole in the top of the cone with a long metal skewer and set the bird/pine cone pick into place.
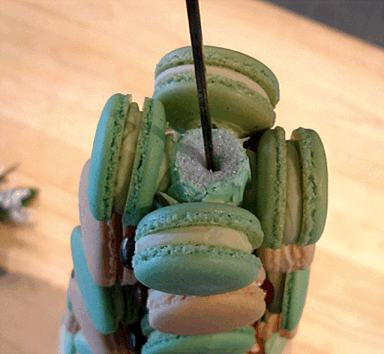
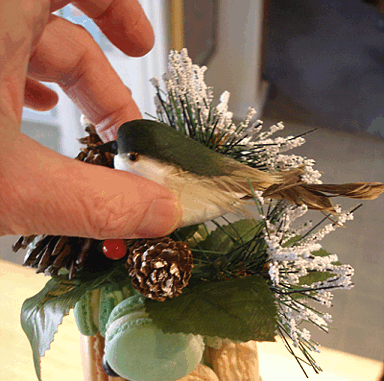
And the macaron topiary c'est fini!!
STORAGE
If consuming the macarons, the topiary can be stored at the cool side of room temperature for a few days. After that, it needs to be stored in the refrigerator because of the ganache filling.


